
How to Test an iPhone Replacement Screen Before Installation
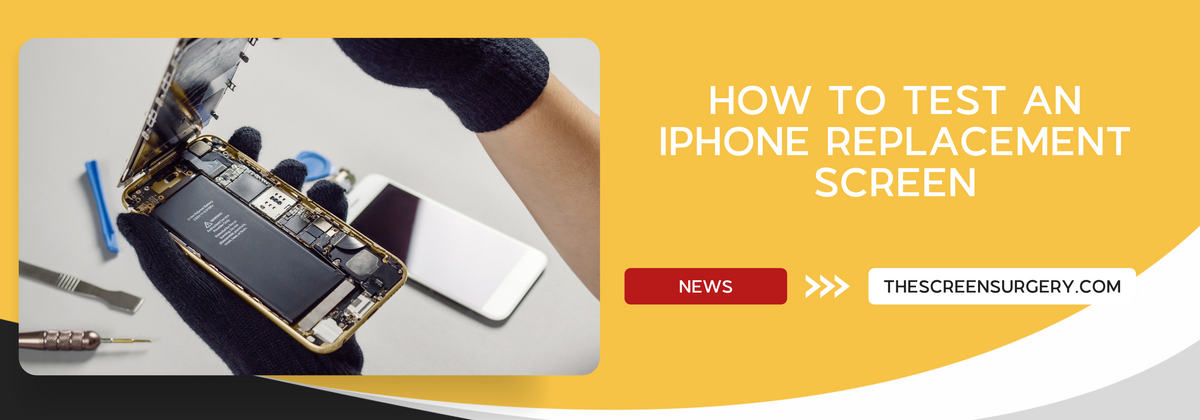
How to Test an iPhone Replacement Screen Before Installation
Testing a replacement iPhone screen before completing a repair is an important habit for professional technicians.
Whether you're fitting an LCD or OLED replacement, checking the display before final assembly helps identify problems early and reduces the risk of reopening a finished device.
In this guide, we'll cover the key tests repair shops should perform before completing an iPhone screen replacement.
Why Test a Replacement Screen Before Fitting It?
A replacement screen may arrive in excellent condition, but issues can still arise during installation.
Testing the component before sealing the device helps distinguish between an existing device fault, a replacement-part issue and a problem introduced during fitting.
It can also save time if an unexpected fault appears after the phone has been reassembled.
Step 1: Inspect the Screen Before Connecting It
Start with a visual inspection.
Check the replacement screen for damage to the glass, display assembly and flex cables.
Pay particular attention to:
-
Bent or damaged connectors
-
Tears or creases in flex cables
-
Visible cracks or display damage
-
Missing brackets or fittings required for installation
-
Incorrect part design or connector placement
For example, if you're fitting our iPhone 11 TX Pro LCD, compare the replacement assembly with the original part before installation.
Ensure you're using the correct component for the specific device model.
Step 2: Connect the Screen Safely for Testing
Follow the appropriate repair procedure for the device.
Disconnect the battery before connecting or disconnecting the display assembly. Never force a connector into place.
Where practical, connect the new display temporarily without permanently bonding it to the housing.
Support the screen so that its flex cables aren't stretched or sharply folded.
Reconnect power only when the necessary connections are secure and the assembly is safely positioned.
Step 3: Test Display Quality
Once the device is powered on, examine the display carefully.
Check for:
-
Unusual lines across the screen
-
Dead or permanently illuminated pixels
-
Uneven brightness
-
Discolouration or abnormal tint
-
Flickering or image instability
-
Unexpected dark patches
Displaying plain white, black, red, green and blue backgrounds can make some faults easier to identify.
Remember that different screen technologies can have different visual characteristics.
For example, our iPhone 13 TX Pro Soft OLED is an OLED replacement, while the iPhone 11 TX Pro uses LCD technology.
Compare performance against the specifications of the part you've actually selected.
Step 4: Check Touch Responsiveness
A display that looks perfect can still have touchscreen problems.
Open an app that allows you to test touch input across the full display area.
Move your finger around the edges and corners of the screen, checking for areas that don't respond.
You should also test:
-
Swiping and scrolling
-
Multi-touch gestures
-
Keyboard input
-
Responsiveness near the screen edges
-
Unexpected or repeated touch inputs
Watch for ghost touch, where the device appears to register inputs that haven't been made.
Step 5: Test Other Relevant Features
Depending on the device and replacement assembly, check compatible features such as automatic brightness, proximity-sensor behaviour and supported display settings.
Some functions depend on sensors or components transferred from the original display.
These parts should be handled carefully, particularly where front sensors and biometric systems are involved.
An aftermarket replacement may also produce a parts-verification message. That should be assessed separately from whether the display functions correctly.
Step 6: Complete the Repair and Test Again
Once initial tests are complete, follow the correct installation procedure, including any required adhesives, brackets and screws.
Avoid trapping or pinching flex cables during reassembly.
After the device is closed, carry out another full check.
A display that works during temporary testing should still be tested after installation to identify issues caused by pressure, cable positioning or assembly.
Remember that replacing a screen seal doesn't automatically restore the device's original water-resistance rating.
Keep Your Repair Process Consistent
A simple testing checklist can make a real difference to repair quality.
By checking every replacement display before and after installation, repair businesses can reduce avoidable rework and provide a more consistent service.
At The Screen Surgery, we supply replacement displays including TX Pro screens for iPhone and iPad.
Browse our replacement screen range and find the right parts for your next repair.


Leave a comment